Sanity.io Headless CMS with angular and scully.io
30.04.2021Headless CMS
Sanity.io
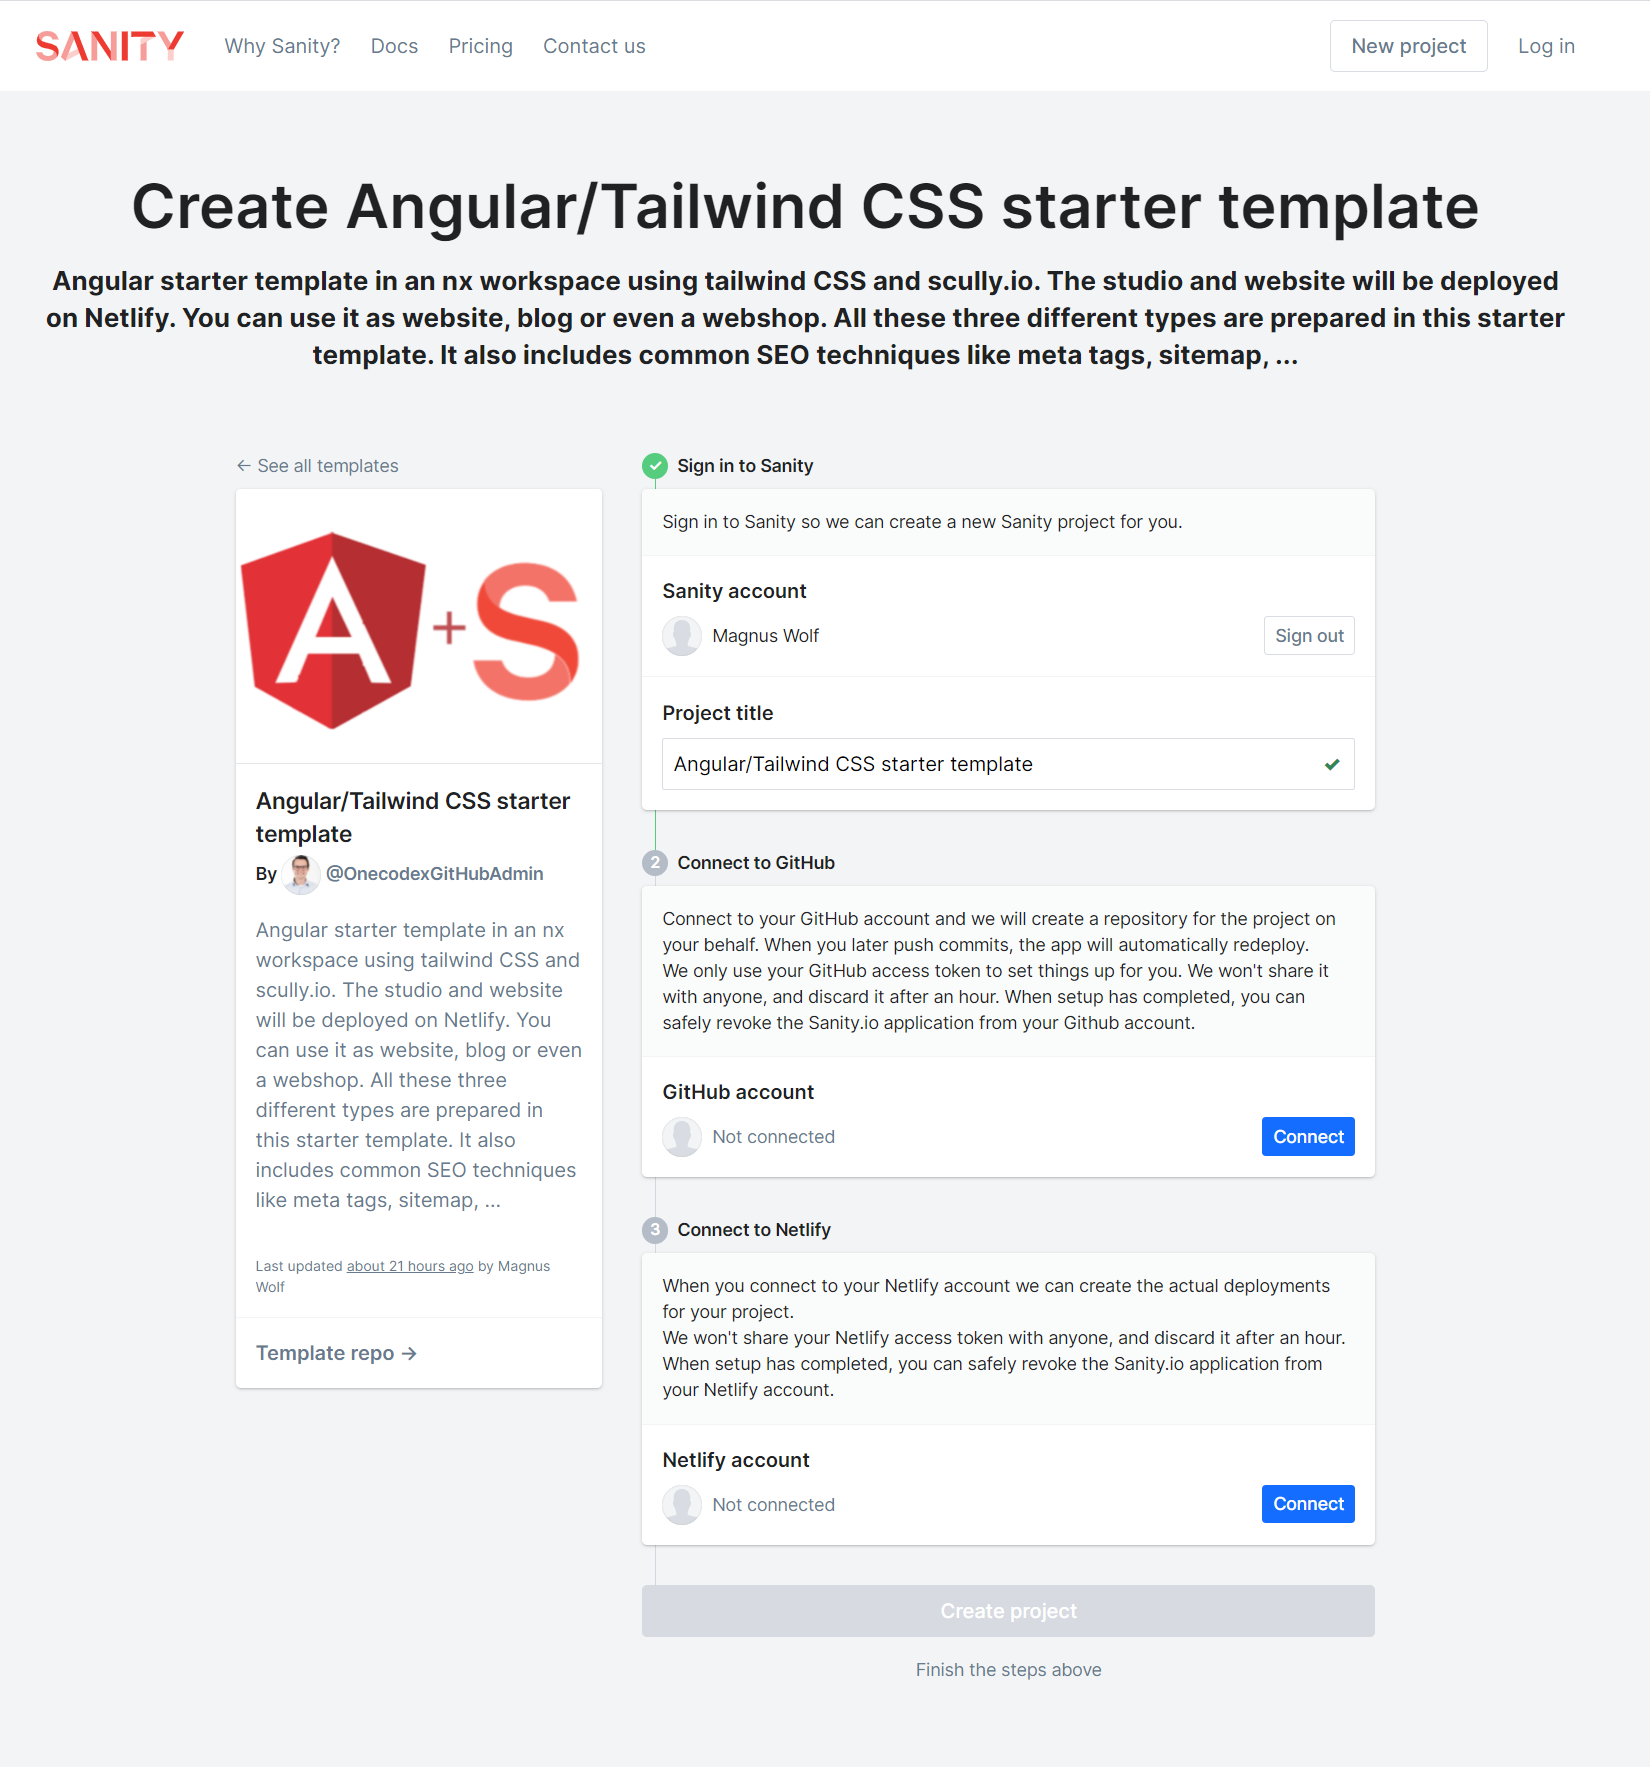
Angular starter template
Getting started
Tooling
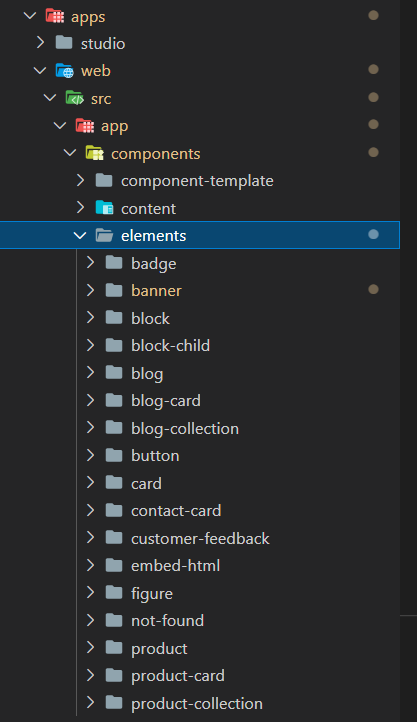
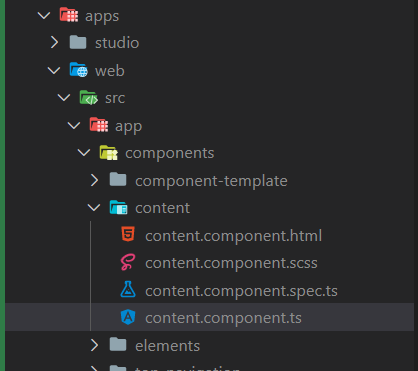
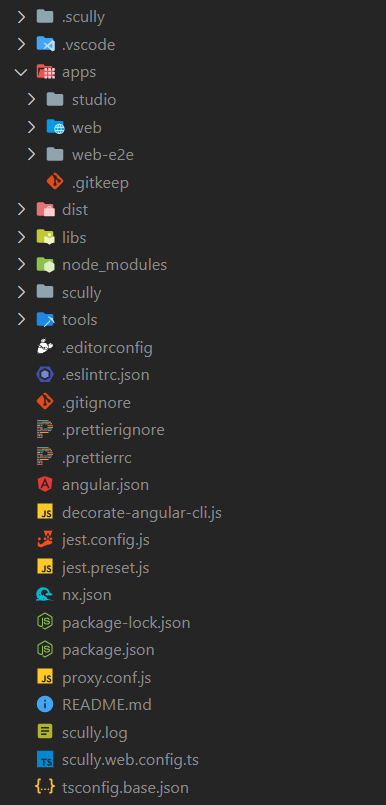
Structure
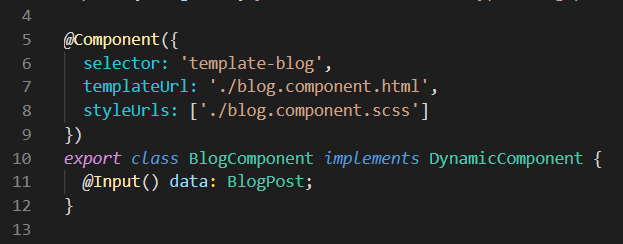
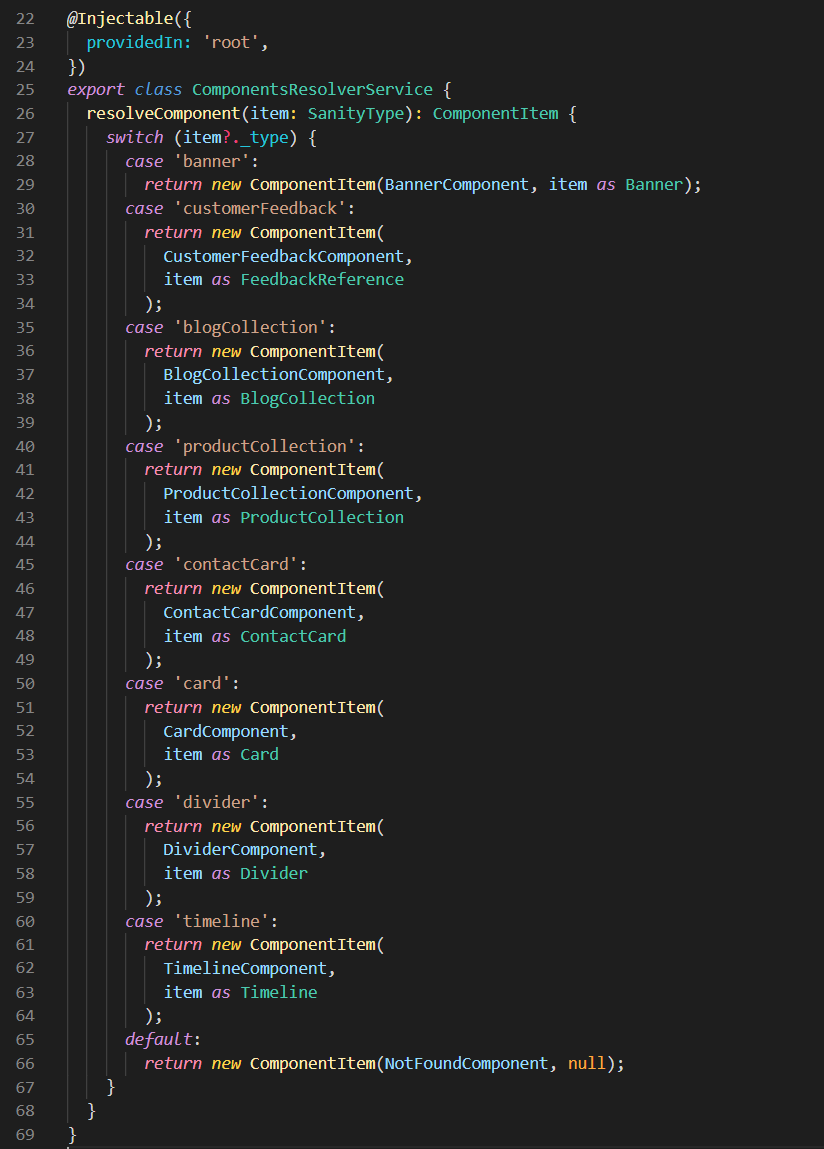
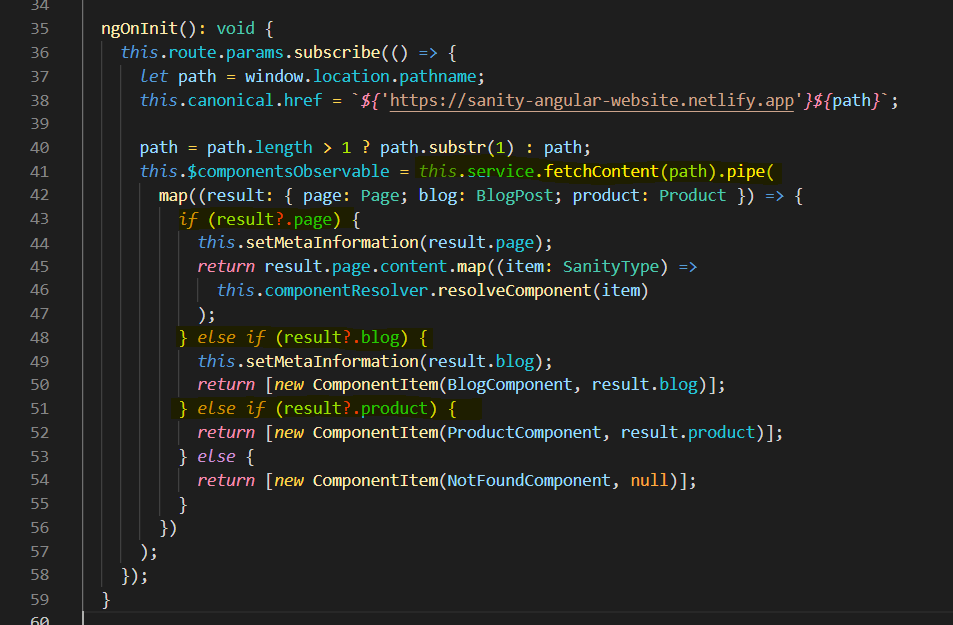
Add a new sanity type (schema: like a product, page or blog)